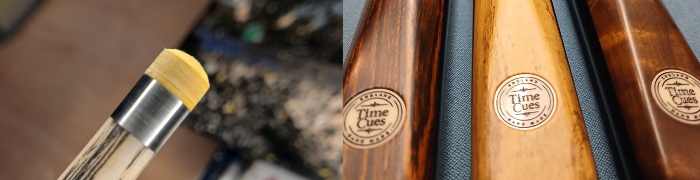
How to repair or replace a snooker or pool cue tip.
DIY cue tip repairs and cue tip replacement on pool and snooker cues.
Too many choices available for cue tips so it really is about what you like and what suits your own style of playing snooker or pool. For a breaking cue for pool a hard tip is recommended as the break shot should be the hardest shot you play. I personally like a soft or super soft tip for my playing cue it suits my style of play.
Whatever cue tip you choose it needs fitting properly to your cue. You can do it yourself or pay a cue repair professional to do it for you. A cue pro will use a cue lathe and this will give the best results and finishes click here if you prefer a cue pro to do it for you: I have had several cues brought to me after a botched cue tip repair with scratches all over the ferrule and glue all over the place!
Here's how to replace a cue tip without a cue lathe:
After reading the following cue tip repair instructions you should be able to fit a tip to your cue which will play well, and not fall off after a few shots. The tip is the only part of the cue permitted to strike the cue-ball, so it is one of the most important parts of the cue.
Things required to replace your cue tip:
- A sharp knife, sandpaper
- some glue I use Loctite Super Glue Gel (not normal super glue)
- a small piece of wood or chopping board
- tape to protect the ferrule (electrical tape is best)
I stock various cue tip shapers click here to buy
- Remove the tip from the cue with a sharp knife and rub the top of the ferrule with some sandpaper so remove any of the old tip and leave a good surface to apply the new tip to.
- Carefully apply the tape around the ferrule leaving only the faintest edge of ferrule showing.
- Rub the part of tip you are going to glue (flat part) gently on the sandpaper to make sure it is nice level and clean for glue application.
- Apply a small amount of glue to the ferrule end and place the tip on. A small amount of glue should push out this indicates enough glue has been applied. Hold it for a minute so the glue sets. It sets quick but only hardens properly after a little longer.
- I then turn the cue upside down and with the cue tip resting on the piece of wood or chopping board (I find it best placed on the floor) start to trim down the cue tip. Working around to get it even.
- Begin sanding the tip to get it nice and round. The tape should still be protecting the ferrule.
- Finally shape the cue tip to your liking.
To chat about anything with Cliff click here WhatsApp